

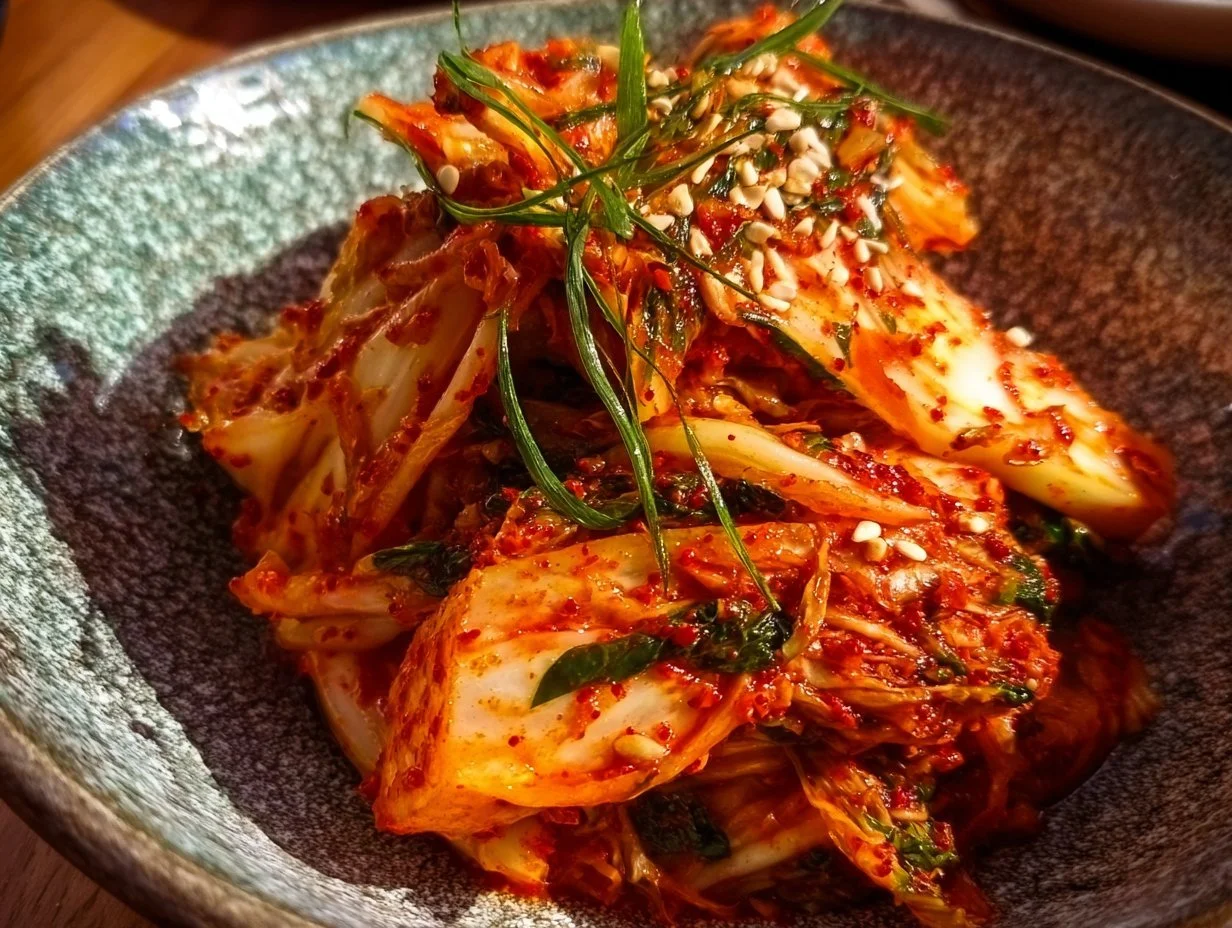
Homemade Kimchi is a delicious way to explore fermentation at home. Packed with vibrant flavors and textures, it enhances meals and supports gut health. As a bonus, did you know that this recipe uses roasted garlic for an extra depth of flavor? Let’s dive in!
Recipe at a Glance
| Best for | Meal Prep, Side Dish |
| Difficulty | Easy |
| Total time | 1 – 5 days (fermentation) |
| Servings | 4-6 cups |
| Key tip | Use a clean jar to maintain flavor. |
| Smart swap | Use sweet paprika if gochugaru is unavailable. |
What Are the Key Ingredients for Homemade Kimchi?
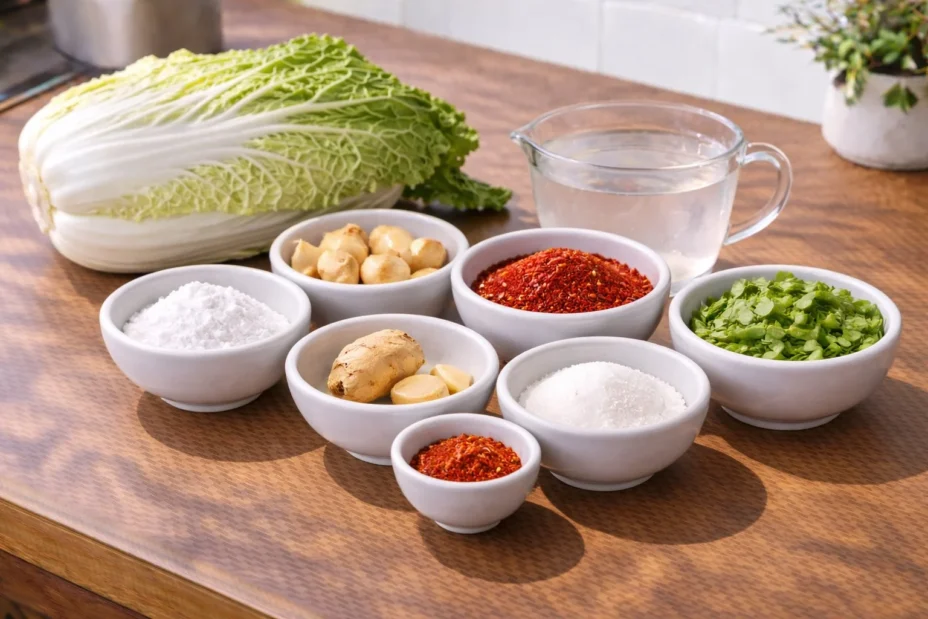
Kimchi is all about the fresh, high-quality ingredients you choose. The stars of this recipe are Napa cabbage, which adds a light crunch, and gochugaru, a cornerstone in achieving authentic flavor. You will also use roasted garlic, which adds richness and depth. Don’t forget to experiment with green onions and ginger for more depth!
| 1 Large Napa Cabbage | 1/4 cup Coarse Sea Salt |
| 4 cloves Roasted Garlic | 1 inch piece Ginger, peeled |
| 1/2 cup Gochugaru (Korean red pepper flakes) | 1 tablespoon Smoked Paprika (optional) |
| 1 tablespoon Sugar | 2 Green Onions, chopped |
| Water (for brining), as needed |
The Napa cabbage serves as the foundation of kimchi, providing a delightful crunch and ample capacity for flavor absorption. The gochugaru brings a warm, smoky spice that characterizes authentic kimchi. You can easily replace it with sweet paprika if you want a milder flavor. Incorporating roasted garlic and ginger adds complexity to your paste, making it a delicious experience. To explore more exciting flavors, check out this hearty tomato soup recipe.
Equipment Needed
– Clean glass jars for fermenting
– Large mixing bowl
– Blender or food processor
– Measuring spoons and cups
– Colander for draining
How to Make Homemade Kimchi Step-by-Step
Crafting your own kimchi at home is simpler than you might think. Follow this straightforward guide to enjoy a delicious batch of homemade goodness.
Step 1: Prepare Your Cabbage
Start by quartering the large Napa cabbage, and then slice it into bite-sized pieces. Next, dissolve the coarse sea salt in enough water to completely submerge the cabbage. Soak the cabbage in this salty mixture for 2 to 4 hours, occasionally flipping it to ensure each piece gets well-brined. The salt will draw out moisture and kickstart the fermentation process.
Step 2: Create the Flavorful Paste
While your cabbage is brining, add the roasted garlic, ginger, gochugaru, smoked paprika (if using), and sugar into your blender. Blend these ingredients until you have a smooth and cohesive paste, which will be essential for layering flavor into the kimchi. This step is key, as balancing spice and warmth will make your final product extraordinary.
| Prep Time | 15 minutes |
| Cook Time | 0 minutes |
| Store Time | 1-5 days (fermenting) |
| Nutritional Values | Varies based on serving size |
Step 3: Mix the Ingredients
Once the brining time is up, thoroughly rinse the cabbage under cool running water to remove excess salt. Drain well, ensuring no water gathers in your mixing bowl. In your mixing bowl, combine the well-drained cabbage with the smooth paste and the chopped green onions. Toss everything together until each piece of cabbage is coated with that lovely, flavorful mixture. You can feel the joy as you see the transformation taking place. Each bite will burst with flavor!
Common Mistakes to Avoid + Pro Tips for Success
While making kimchi, it’s easy to overlook a few critical steps. I’ve made my fair share of mistakes, but I’m here to help you navigate them for a joyous experience. The key is preparation, attention to detail, and a willingness to adapt.
Mistakes to Avoid
| Under-Brining | If you don’t soak the cabbage long enough, it may not soften properly, impacting fermentation. |
| Ignoring Cleanliness | Using dirty jars can introduce unwanted bacteria, ruining your kimchi. Always ensure your jars are squeaky clean. |
Tips for Success
| Mind the Temperature | Keep an eye on the fermentation temperature; ideally, it should be around room temperature to allow flavors to develop. |
| Don’t Overstuff Jars | Leave some space in the jar for gases. This prevents spills and encourages proper fermentation. |
Always remember, the quality of your ingredients and attention to fermentation times are crucial for delicious kimchi every time.
Why You Will Love This Recipe
Homemade Kimchi is a delightful addition to your meal repertoire. It introduces you to the world of fermentation, making it a fun culinary adventure. The first reason you will love this recipe is the vibrant flavor it brings to your dishes.
Rich in Flavor
The depth of flavor created from fermented garlic, ginger, and chili flakes is unmatched. Every bite offers a little kick that enhances your palate.
Health Benefits
Kimchi is not only delicious but also a fantastic source of probiotics, supporting gut health. It’s an excellent side dish to complement rice, noodles, or even salads.
Versatility on Your Plate
Use kimchi in various ways; toss it in salads, serve it alongside grilled veggies, or even mix it into fried rice. The options are endless, making it a staple in my kitchen.
A Special Tip
When making your kimchi, it’s fun to experiment with different spices or additional vegetables such as radishes. The steps in this recipe will guide you through that delightful maze of flavor!
Exciting Variations, Serving, and Storage Ideas
As someone who enjoys experimenting in the kitchen, there are so many twists you can add to your kimchi experience. Let’s discuss some variations that fit perfectly with this recipe.
Spicy Twist
If you crave more heat, try adding extra gochugaru or even some Sriracha for a zesty kick. You can also toss in thin sliced jalapeños to bring fresh flavor.
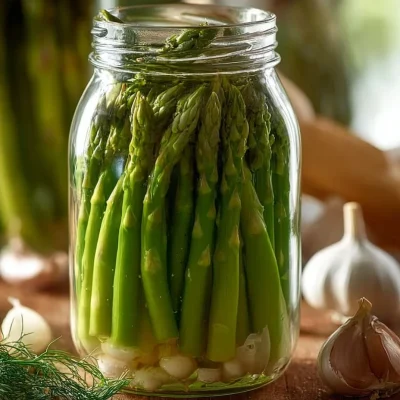
Crunchy Veggie Swaps
Feeling adventurous? You can easily swap in other vegetables like carrots or radishes for an extra crunch while keeping the primary flavors intact. Play around with what’s in your fridge. Try this delicious vegan lentil wellington for a hearty meal idea.
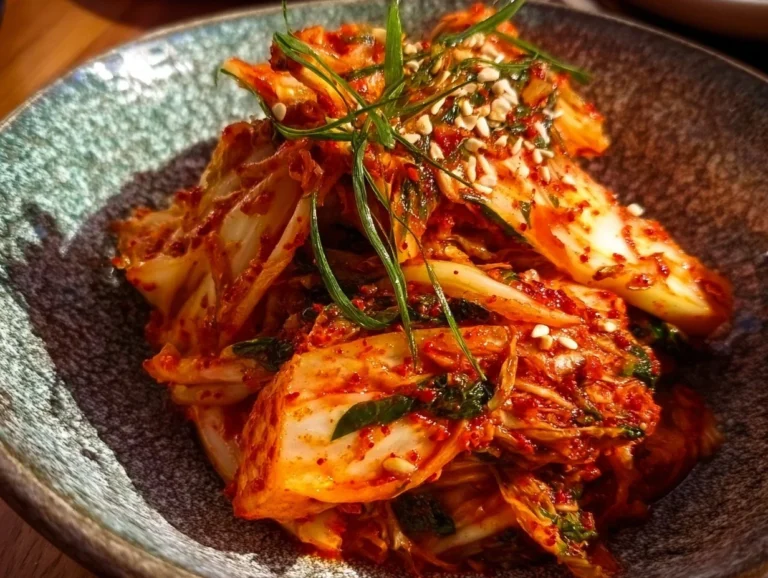
Ideal Serving Ideas
Serve your homemade kimchi as a side dish with cooked rice, enhancing the meal’s texture and flavor. It can also be the star in a Korean BBQ style dinner with grilled veggies or used to elevate a simple sandwich.
Keeping it Fresh
Store your kimchi in airtight containers and enjoy it chilled or at room temperature. It’s best eaten within the first couple of weeks, but it can continue to ferment in the fridge if you prefer a stronger flavor. Refresh it with a splash of water to reclaim some crunchiness if it softens too much.
| Idea | Best for | How to do it |
| Spicy Kimchi | Heat Lovers | Add extra gochugaru or jalapeños |
| Vegetable Loaded | Extra Texture | Incorporate cabbage with crunchy radishes or carrots |
| Sandwich Spread | Flavor Booster | Add a layer of kimchi to your sandwiches |
| Meal Prep | Quick Meals | Pair with rice and grilled veggies for quick lunches |
More Recipes You Can Try Next
If you enjoyed this recipe, there are many other delightful dishes that you will love. Here are some recommendations.
| Vegetarian Wellington | A hearty, plant-based main dish packed with flavor. |
| Coconut Chia Pudding | A delightful dessert that’s easy to make and packed with nutrients. |
| Creamy Vegan Tomato White Bean Stew | A comforting, hearty stew ideal for cold nights. |
Final Thoughts
Making Homemade Kimchi has opened up a world of flavors and textures in my kitchen. It’s an enriching experience that allows you to experiment while being kind to your gut. Each ingredient plays a vital role in creating that harmonious flavor profile.
Don’t hesitate to adjust the spice levels and experiment with new vegetables! I encourage you to share your kimchi adventures and recipes and feel free to reach me on my Pinterest page.
FAQ
What is the best way to store homemade kimchi?
The best way to store homemade kimchi is in a clean, airtight container in the fridge. Metal containers should be avoided as they can react with the acid. It will continue to develop in flavor while stored, and consuming it within a few weeks will yield the best texture.
Can I add other vegetables to my kimchi?
Absolutely! Feel free to add other vegetables like radishes, carrots, or cucumbers for a crunchy twist. Just keep in mind that the additional veggies should be cut similarly to the cabbage to ensure even fermentation.
What is gochugaru and can I substitute it?
Gochugaru is a Korean red pepper flake that adds both heat and flavor to kimchi. If you can’t find it, you can use smoked paprika and regular chili powder, although it may alter the final taste somewhat.
How long will my kimchi last?
Homemade kimchi can last several months when stored properly in the refrigerator. However, its flavor will continue to develop, and after a week or two, it will become tangier and softer, which may not be preferred by everyone.
Can I ferment kimchi at room temperature?
Yes, you can ferment kimchi at room temperature for 1-5 days depending on your desired level of tanginess. Make sure it is in a sealed container to prevent contamination and monitor it daily.
Homemade Kimchi
A flavorful journey into fermentation with homemade kimchi, packed with vibrant flavors and health benefits.
- Total Time: 8640 minutes
- Yield: 4–6 cups 1x
Ingredients
- 1 Large Napa Cabbage
- 1/4 cup Coarse Sea Salt
- 4 cloves Roasted Garlic
- 1 inch piece Ginger, peeled
- 1/2 cup Gochugaru (Korean red pepper flakes)
- 1 tablespoon Smoked Paprika (optional)
- 1 tablespoon Sugar
- 2 Green Onions, chopped
- Water (for brining), as needed
Instructions
- Prepare Your Cabbage: Quarter the cabbage and slice into bite-sized pieces. Dissolve salt in enough water to submerge the cabbage and soak for 2 to 4 hours.
- Create the Flavorful Paste: Blend roasted garlic, ginger, gochugaru, smoked paprika (if using), and sugar until smooth.
- Mix the Ingredients: Rinse the cabbage under cool water and drain. Combine with the paste and chopped green onions, tossing until coated.
Notes
Use a clean jar to maintain flavor and don’t overstuff to allow gases to escape.
- Prep Time: 15 minutes
- Cook Time: 0 minutes
- Category: Side Dish
- Method: Fermenting
- Cuisine: Korean
- Diet: Vegetarian
Nutrition
- Serving Size: 1 cup
- Calories: 150
- Sugar: 2g
- Sodium: 300mg
- Fat: 1g
- Saturated Fat: 0g
- Unsaturated Fat: 1g
- Trans Fat: 0g
- Carbohydrates: 30g
- Fiber: 3g
- Protein: 5g
- Cholesterol: 0mg


No comment yet, add your voice below!