

Rhubarb Sour Belts are a delightful homemade candy that combines the tartness of fresh rhubarb with a sugary sweetness. This chewy treat is perfect for satisfying those sweet and tangy cravings and makes an excellent snack for all ages. Easy to make with just a few ingredients, they are sure to impress your family and friends.
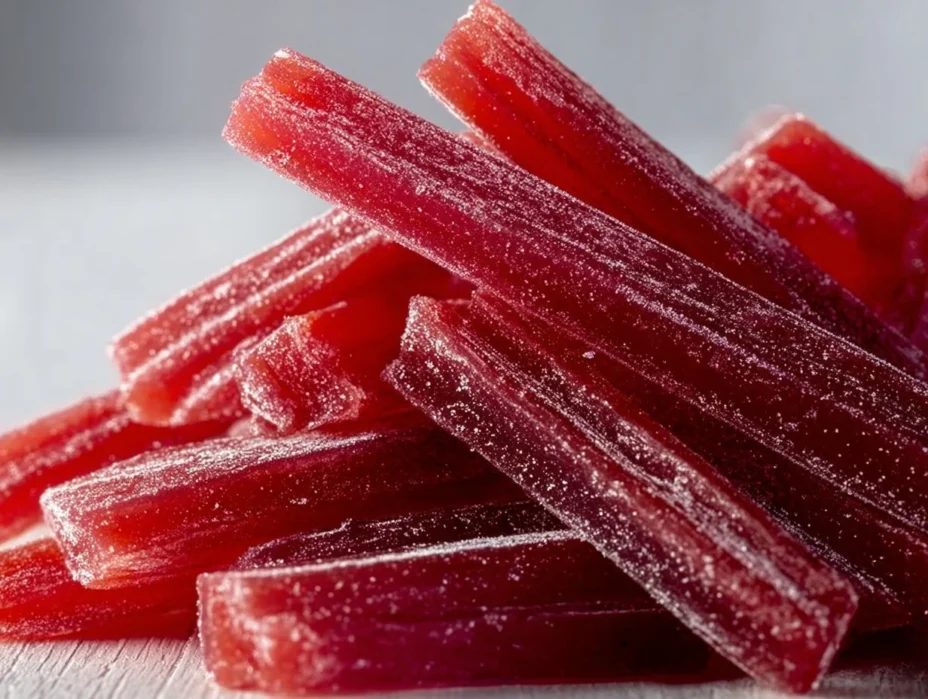
Table of Contents
Recipe at a Glance
| Best for | Snacking, parties, or gifting |
| Difficulty | Easy |
| Total time | 6-8 hours |
| Servings | 12 strips |
| Key tip | Dry them thoroughly for the best texture |
| Smart swap | Use applesauce for a less tart option |
What are the key ingredients in Rhubarb Sour Belts?
The main ingredients in Rhubarb Sour Belts include fresh rhubarb, sugar, and lemon juice, which create a delightful balance of tart and sweet flavors. You can substitute rhubarb with strawberries for a sweeter version or adjust the sugar for a less sweet treat if desired.
| Ingredient | Quantity |
|---|---|
| Fresh chopped rhubarb | 2 cups |
| Granulated sugar | 1 cup |
| Water | 1/2 cup |
| Fresh lemon juice | 1 tablespoon |
| Citric acid | 1/2 teaspoon |
| Cornstarch | 2 tablespoons |
Fresh rhubarb adds a vibrant tartness to the sour belts, while sugar balances that flavor with sweetness. Lemon juice enhances the sour notes, making it a perfect addition to these chewy treats. If rhubarb is out of season, strawberries make for a delightful and sweet substitute.
Equipment Needed
- Medium saucepan
- Blender or immersion blender
- Fine mesh strainer (optional)
- Baking sheet
- Parchment paper
- Oven
How do you make Rhubarb Sour Belts?
Making Rhubarb Sour Belts is a straightforward process that involves cooking, blending, and drying the rhubarb mixture.
Step 1: In a medium saucepan, combine the fresh chopped rhubarb, sugar, water, and lemon juice; stir to mix well.
Step 2: Bring the mixture to a boil over medium heat, then reduce to a simmer, cooking until the rhubarb is soft, which should take about 10 to 15 minutes.
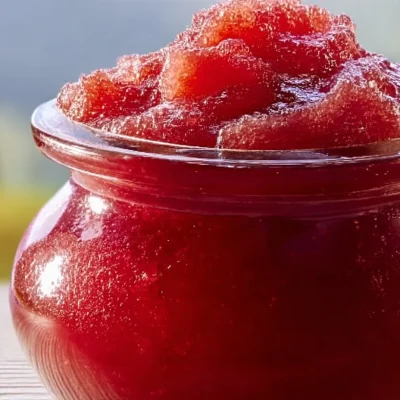
Step 3: After cooking, remove the saucepan from heat and blend the mixture until smooth using a blender or immersion blender.
Step 4: If you prefer a smoother texture, strain the mixture using a fine mesh strainer to remove any solids.
Step 5: Spread the strained mixture evenly onto a lined baking sheet in a thin layer.
Step 6: Dry the mixture in an oven set to the lowest temperature (around 150°F) for about 6 to 8 hours or until it becomes fully dried, feeling tacky but not sticky.
Step 7: Once dried, remove from the oven, cut into strips, and dust with cornstarch to prevent sticking.
Step 8: Store the Rhubarb Sour Belts in an airtight container to enjoy later.
| Item | Value |
|---|---|
| Prep time | 20 minutes |
| Cook time | 15 minutes |
| Store time | 1 week |
| Calories | 120 per strip |
| Protein | 0.5g |
| Carbohydrates | 30g |
| Fat | 0g |
Common Mistakes to Avoid + Pro Tips for Success
When experimenting with Rhubarb Sour Belts, I’ve learned a few things that can help you achieve the best results.
Mistakes to Avoid
| Error | Explanation |
|---|---|
| Not cooking rhubarb long enough | If the rhubarb isn’t soft enough, it won’t blend smoothly. Be patient and ensure it becomes completely tender. |
| Overcrowding on the baking sheet | Too much mixture will prevent even drying. Spread it thinly to achieve the correct texture. |
| Skipping the dusting step | This can lead to sticky belts. Dusting with cornstarch is essential for easy handling. |
Tips for Success
| Tip | Explanation |
|---|---|
| Use fresh ingredients | Fresh rhubarb provides the best flavor. Avoid using stale or stored ingredients. |
| Monitor oven temperature | Oven temperatures can vary; keep an eye on your mixture to prevent it from burning. |
| Experiment with flavors | Add different fruit juices for a unique twist on this classic recipe. |
Perfect Rhubarb Sour Belts are all about balance; get the ratio of sweet and sour just right!
Why You Will Love This Recipe
Rhubarb Sour Belts are undeniably a fantastic treat you will adore!
Chewy and Delicious
The texture of these belts is wonderfully chewy, making them a fun snack for any time. The balance of sweet and tart makes them irresistibly delicious. You won’t be able to stop at just one!
Simple Ingredients
Using just a handful of ingredients from your pantry, these belts come together quickly. I appreciate how easy it is to make a vibrant treat without any strange additives. You know exactly what’s in them!
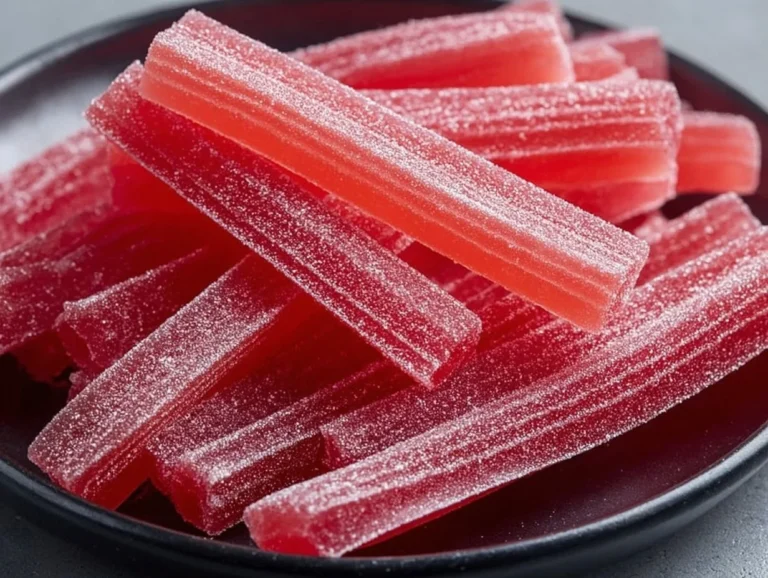
Perfect for Gifting
Make a batch for your next gathering or as a thoughtful gift. Friends and family will love receiving such a unique and tasty treat that they can enjoy at any time. Packaging them in a pretty box adds a personal touch.
Fun to Create Together
Making Rhubarb Sour Belts is a perfect activity to do with kids or friends. Cooking together creates wonderful memories, and you’ll love the satisfaction of creating something deliciously homemade. Plus, you’ll learn tips on drying methods along the way!
Creative Variations, Serving Ideas, and Storage Tips
Rhubarb Sour Belts can be easily customized, shared, and stored to keep the fun going!
Flavored Variations
Try adding zest from oranges or lemon for an extra citrus kick. You can also mix in different fruits, like strawberries or blackberries, to change up the flavor profile. Each variation delivers a new and exciting taste to enjoy.
Best Serving Suggestions
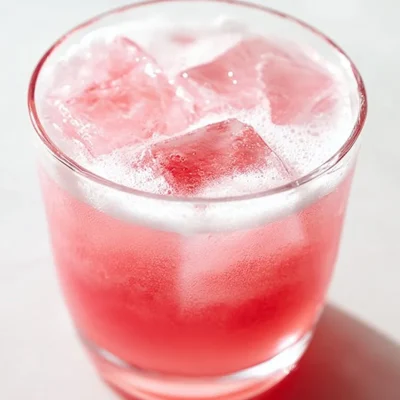
These sour belts are perfect for offering at parties or as fun lunchbox snacks. They can also be a charming addition to a dessert table or shared among friends during movie night. Pair them with fruit dips for an extra flavor explosion!
Storage Tips
Store your sour belts in an airtight container, where they can last for about a week. Keep them in a cool, dry place to maintain their texture. If they start to get sticky, a light dusting of cornstarch can bring them back to life!
| Idea | Best for | How to do it |
|---|---|---|
| Flavored variations | Creating exciting new tastes | Add citrus zest or mix berries into the blend. |
| Lunchbox snacks | Quick and healthy treats for kids | Cut into smaller pieces for easy snacking. |
| Airtight storage | Maintaining freshness | Use glass jars or plastic containers to keep sealed. |
| Cornstarch dusting | Preventing stickiness | Lightly dust before storing to keep belts easy to handle. |
More Recipes You Can Try Next
If you’re looking for more delicious rhubarb recipes, you’re in for a treat!
| Recipe Link | Why Try It Next |
|---|---|
| Easy Rhubarb Salsa | For a blend of sweet and spicy flavors that’s perfect for dipping. |
| Rhubarb Cream Cheese Bars | Try these creamy, sweet bars for a delightful dessert option. |
| Twice Baked Rhubarb Cheesecake Bombs | Indulge in a sweet treat that combines creamy cheesecake with rhubarb. |
Final Thoughts
Rhubarb Sour Belts are incredibly rewarding to make and absolutely delightful to eat. I love that they encapsulate the perfect balance of tartness and sweetness while being super fun to prepare. They are a treat that brings joy, flavor, and a bit of nostalgia.
I invite you to give this recipe a try and experience the fresh taste of homemade sour belts. Whether for a gathering or just a special treat for yourself, you won’t regret making these delicious snacks. Don’t forget to save this recipe on Pinterest to share with friends!
FAQ
What can I use instead of rhubarb in Sour Belts?
You can substitute rhubarb with strawberries or apples for a sweeter and less tart taste. Using applesauce can also help create a softer texture if needed.
How do I make sure my Rhubarb Sour Belts don’t stick together?
To prevent sticking, dust the cut strips with cornstarch before storing them. Make sure they are fully dried, and store them in an airtight container.
Can I make Rhubarb Sour Belts ahead of time?
Yes, you can make these sour belts in advance and store them for up to a week in an airtight container. They are a great snack to prepare ahead of time.
Are Rhubarb Sour Belts gluten-free?
Yes, this recipe contains no gluten ingredients, making it a suitable option for those with gluten sensitivities. Always double-check that your ingredients are certified gluten-free if needed.
How can I tell when my Rhubarb Sour Belts are done drying?
They should feel tacky but not sticky. Ensure they are fully dry before removing them from the baking sheet to avoid any moisture-related issues.
Rhubarb Sour Belts
Indulge in Rhubarb Sour Belts, a perfect blend of sweet and tangy flavors. Made with fresh rhubarb, sugar, and a hint of lemon, these chewy strips are both satisfying and delicious.
- Total Time: 480 minutes
- Yield: 12 strips 1x
Ingredients
- 2 cups fresh chopped rhubarb
- 1 cup granulated sugar
- 1/2 cup water
- 1 tablespoon fresh lemon juice
- 1/2 teaspoon citric acid
- 2 tablespoons cornstarch for dusting
Instructions
- Combine the fresh chopped rhubarb, sugar, water, and lemon juice in a medium saucepan; stir to mix well.
- Bring the mixture to a boil over medium heat, then reduce to a simmer, cooking until the rhubarb is soft, about 10 to 15 minutes.
- Remove the saucepan from heat and blend the mixture until smooth using a blender or immersion blender.
- If you prefer a smoother texture, strain the mixture using a fine mesh strainer to remove any solids.
- Spread the strained mixture evenly onto a lined baking sheet in a thin layer.
- Dry the mixture in an oven set to the lowest temperature (around 150°F) for about 360 to 480 minutes or until it becomes fully dried.
- Once dried, remove from the oven, cut into strips, and dust with cornstarch to prevent sticking.
- Store the Rhubarb Sour Belts in an airtight container to enjoy later.
Notes
For a non-tart option, substitute rhubarb with strawberries or adjust the sugar level.
- Prep Time: 20 minutes
- Cook Time: 15 minutes
- Category: Snacks
- Method: Cooking
- Cuisine: American
- Diet: Vegetarian
Nutrition
- Serving Size: 1 strip
- Calories: 120
- Sugar: 22g
- Sodium: 5mg
- Fat: 0g
- Saturated Fat: 0g
- Unsaturated Fat: 0g
- Trans Fat: 0g
- Carbohydrates: 30g
- Fiber: 1g
- Protein: 0.5g
- Cholesterol: 0mg

No comment yet, add your voice below!