

Fall season is the perfect excuse to whip up a batch of holiday treats, and these cookies are a must-have!
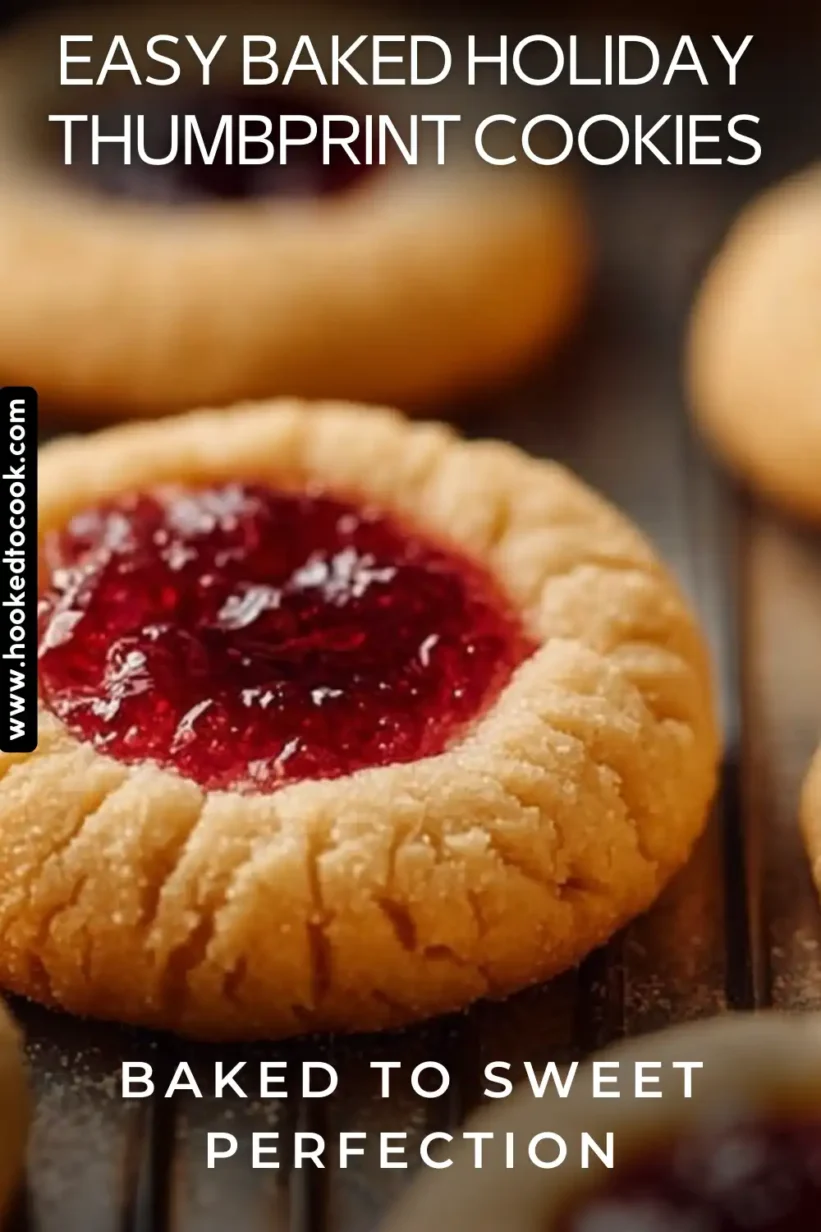
Every year, I can’t help but bake a batch of Easy Baked Holiday Thumbprint Cookies. There’s nothing quite like the joy of creating these delightful little gems dotted with jewel-toned jams. They evoke memories of cozy family gatherings, warm kitchens, and the sweet aroma of baking wafting through the house. Whether you’re making them for a holiday party or simply to indulge in some homemade goodness, these cookies are sure to impress, thanks to their charm and flavor. You won’t regret giving this recipe a try!
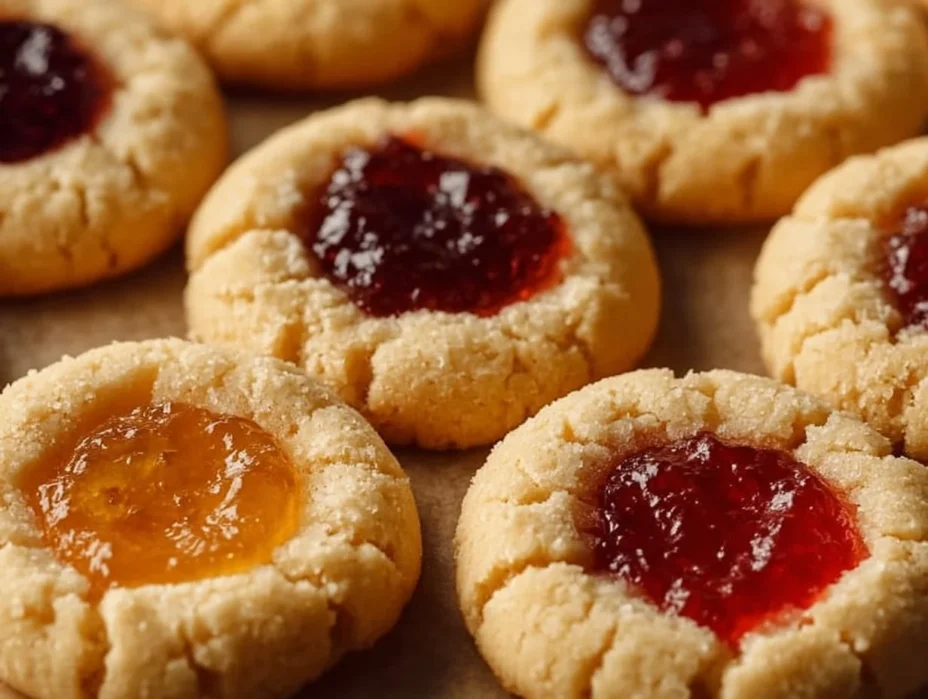
Table of Contents
Why Should You Bake Thumbprint Cookies This Season?
“These cookies are an amazing comfort food and perfect for holiday gatherings!”
Thumbprint cookies are a wonderful addition to any holiday spread, bringing a sense of nostalgia and joy with every bite. Their buttery, crumbly texture melts in your mouth, complemented by the sweet filling of your choice, perfect for sharing and gifting! Plus, they are incredibly easy to make, making them a go-to recipe for busy holiday schedules. You can easily experiment with various jams and jellies, which makes them even more versatile. Don’t forget to check out these delicious pumpkin scones that go well with tea while you enjoy your cookies!
What Makes This Thumbprint Cookie Recipe Unique?
“This cookie recipe shines with its simple yet memorable flavor profile!”
Flavor and Texture
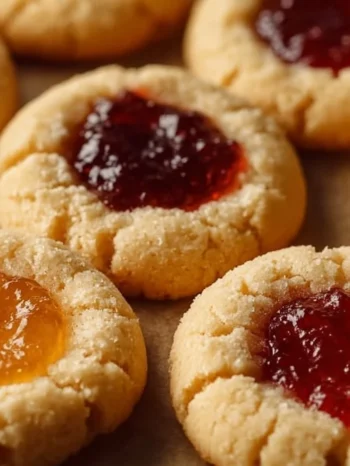
The magic behind these cookies lies in their balance of flavors. The rich buttery base pairs harmoniously with fruity jam fillings, offering a sweet satisfaction that dances on the palate. You can choose anything from raspberry to apricot, so each batch can feature a mix of your favorites.
Ingredient Swaps
You can easily customize this recipe based on your dietary needs or what you have on hand. For instance, swapping in almond extract for vanilla adds a delightful nutty flavor worth trying! Additionally, gluten-free flour can be a fantastic alternative for those needing a gluten-free option, making these cookies accessible to everyone.
Culinary Techniques
The thumbprint process is not only fun but creates a unique shape that holds onto the delicious filling. This technique is ideal for little hands, making it a fun baking project to do with kids!
What Ingredients Do You Need to Make Thumbprint Cookies?
“A few simple ingredients create magic in every bite!”
| Ingredients | Quantities |
|---|---|
| Unsalted butter (softened) | 1 cup |
| Granulated sugar | 2/3 cup |
| Vanilla extract | 1 teaspoon |
| Almond extract (optional) | 1/4 teaspoon |
| All-purpose flour | 2 cups |
| Salt | 1/4 teaspoon |
| Jam or jelly (for filling) | 1/2 cup |
The star ingredient here is, of course, the unsalted butter, which is crucial for that melt-in-your-mouth texture. Not only does it provide a rich flavor, but its creamy nature enhances overall mouthfeel. Adjusting the jam filling lets you customize these cookies, with options such as blackberry or strawberry. For those looking for lower-sugar alternatives, using organic or no-sugar-added jams can still give you the fruit flavor you desire while being a bit kinder on the waistline. Don’t forget to check out these protein bars for a healthier treat option!
How Do You Make Easy Baked Holiday Thumbprint Cookies Step-by-Step?
“Creating thumbprint cookies is a breeze with these simple steps!”
Step 1: Prepare Your Oven and Baking Sheet
Start by preheating your oven to 350°F (175°C). While that heats up, line a baking sheet with parchment paper, this ensures your cookies won’t stick and makes cleanup easy.
Step 2: Cream Butter and Sugar
In a mixing bowl, beat together the softened butter and sugar until the mixture is light and fluffy. This usually takes about 2-3 minutes. It’s essential as it aerates the batter, lending a delightful texture to your cookies!
Step 3: Combine Remaining Ingredients
Now, stir in the vanilla and almond extracts. Gradually add the flour and salt, mixing until just combined to avoid overworking your dough. You don’t want tough cookies!
| Task | Time |
|---|---|
| Prep Time | 10 minutes |
| Cook Time | 12-15 minutes |
| Chill Time | 0 minutes |
| Total Time | 22-25 minutes |
Now, roll the dough into small balls and place them on the baking sheet. Gently press your thumb into the center of each ball to create an indentation. This is where the magic happens when you fill them with jam!
Fill each indentation with a small dollop of your favorite jam, and then it’s time to bake. Place the cookies into the oven and bake for about 12-15 minutes or until the edges turn lightly golden. Your kitchen will smell heavenly as they bake!
Once baked, allow the cookies to cool on the sheet for a few minutes before transferring them to a wire rack to cool completely. It’s so rewarding to see those golden, jam-filled cookies come together!
What Variations Can You Try with Thumbprint Cookies?
“Feel free to switch up ingredients and fillings to personalize your cookies!”
Diet Swap
Looking for a gluten-free option? You can replace all-purpose flour with a gluten-free flour blend. It’s that simple! You won’t lose any flavor or texture, making it suitable for everyone at the table.
Flavor Variation
Don’t be afraid to get creative with flavor variations. Consider using chocolate hazelnut spread instead of jam for a decadent twist, or fill them with nut butter for a delightful surprise.
Serving Idea
Serve these cookies alongside a hot cup of spiced chai or a glass of milk. They’re perfect for holiday gatherings or as a secret snack hidden away for late-night cravings! If you’re looking for a festive drink to pair with these cookies, don’t miss out on this delightful mocktail that brings a burst of flavor.
| Suggested Pairings | Tips |
|---|---|
| Spiced Chai | Enhances the cookie’s flavors |
| Fresh Fruit Plate | Good palate cleanser |
| Coffee | Perfect for a cozy touch |
Final Thoughts
In conclusion, these Easy Baked Holiday Thumbprint Cookies are an absolute delight meant to be shared and enjoyed. They remind us that the most joyful moments often come from simple, thoughtful baking experiences. If you have any leftovers (which you probably won’t), store them in an airtight container for up to a week. So go ahead, ditch that pre-packaged cookie dough and whip up a batch of these incredible cookies, they’ll have your friends and family coming back for seconds! And if you’re looking to share them with the world, be sure to save this recipe on Pinterest for easy access later!
FAQ
What kind of jam can I use for thumbprint cookies?
You can use any flavor of jam or jelly that your heart desires! Common choices include raspberry, strawberry, apricot, or even chocolate spread for a unique take. Experiment with different flavors to find your favorite combination.
Can I make thumbprint cookies ahead of time?
Absolutely! These cookies can be made in advance and stored in an airtight container. They generally stay fresh for up to a week at room temperature or even longer in the refrigerator.
Are thumbprint cookies suitable for gluten-free diets?
Yes, you can make gluten-free thumbprint cookies by using a gluten-free flour blend. This helps everyone enjoy the deliciousness without compromising dietary needs.
Can I freeze thumbprint cookies?
Yes, these cookies freeze beautifully! Allow them to cool completely, then place them in an airtight container between layers of parchment paper. They can be stored in the freezer for up to three months.
What’s the best way to store thumbprint cookies?
To maintain freshness, store your thumbprint cookies in an airtight container at room temperature. For longer storage, refrigerate them or freeze for later enjoyment.
Easy Baked Holiday Thumbprint Cookies
Delightfully simple festive treats perfect for holiday gatherings.
- Total Time: 25 minutes
- Yield: 24 cookies 1x
Ingredients
- 1 cup Unsalted butter (softened)
- 2/3 cup Granulated sugar
- 1 teaspoon Vanilla extract
- 1/4 teaspoon Almond extract (optional)
- 2 cups All-purpose flour
- 1/4 teaspoon Salt
- 1/2 cup Jam or jelly (for filling)
Instructions
- Preheat your oven to 350°F (175°C) and line a baking sheet with parchment paper.
- Cream together the softened butter and sugar until light and fluffy.
- Stir in the vanilla and almond extracts. Gradually add the flour and salt, mixing until just combined.
- Roll the dough into small balls and place them on the baking sheet. Press your thumb into the center of each ball to create an indentation.
- Fill each indentation with a dollop of your favorite jam.
- Bake for about 12-15 minutes or until the edges turn lightly golden.
- Allow cookies to cool briefly on the sheet before transferring to a wire rack to cool completely.
Notes
These cookies can be made gluten-free by using a gluten-free flour blend. Store in an airtight container for up to a week.
- Prep Time: 10 minutes
- Cook Time: 15 minutes
- Category: Dessert
- Method: Baking
- Cuisine: American
- Diet: Vegetarian
Nutrition
- Serving Size: 1 cookie
- Calories: 120
- Sugar: 6g
- Sodium: 50mg
- Fat: 7g
- Saturated Fat: 4g
- Unsaturated Fat: 2g
- Trans Fat: 0g
- Carbohydrates: 12g
- Fiber: 0g
- Protein: 1g
- Cholesterol: 30mg


1 Comment
[…] These rolls are perfect for any meal, yet they really shine when swirled with herbs or spices to customize your flavor experience. For instance, add garlic powder for a savory twist or cinnamon for a hint of sweet! If you’re curious about the benefits of fiber, explore this informative article. To make the most of your dough, you might also like to check these thumbprint cookies! […]