

The Jellycat Birthday Cake is a delightful, whimsical dessert perfect for celebrating special occasions. This cake features layers of fluffy vanilla cake filled with luscious strawberry jam and topped with whipped cream and fresh strawberries, making it super flavorful and visually appealing. Ideal for kids’ parties or a fun celebration with friends, this cake brings joy to any table.
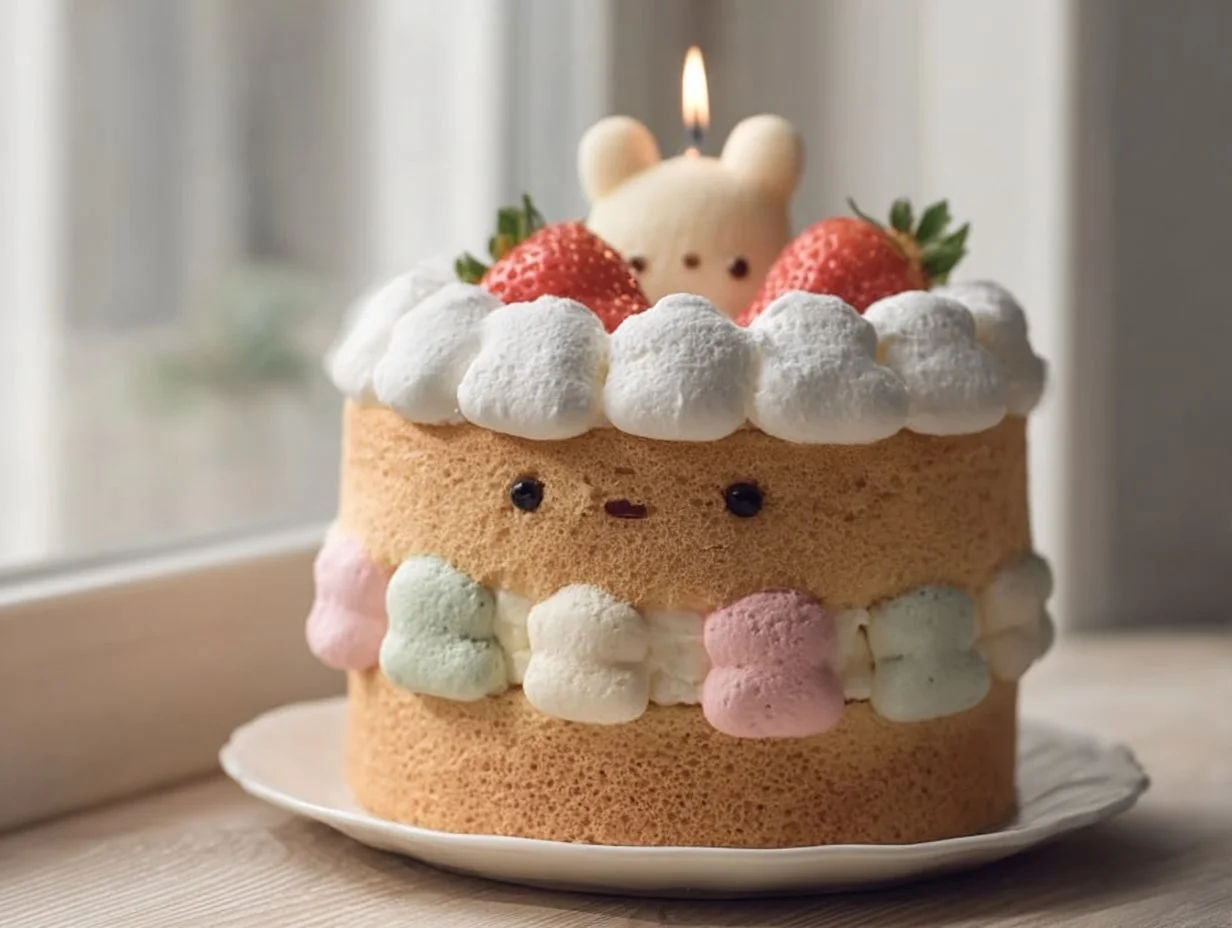
Table of Contents
Recipe at a Glance
| Best for | Kids’ birthdays, celebrations |
| Difficulty | Easy |
| Total time | 1 hour |
| Servings | 8 |
| Key tip | Ensure your butter is softened for better mixing |
| Smart swap | Use almond milk for a dairy-free version |
What Are the Main Ingredients of Jellycat Birthday Cake?
The main ingredients of Jellycat Birthday Cake include all-purpose flour, sugar, butter, milk, baking powder, vanilla extract, salt, strawberry jam, heavy cream, and fresh strawberries. Each component contributes to the cake’s fluffy texture, sweetness, and fruity flavor. You can substitute the heavy cream with a dairy-free whipped topping for a lighter version that’s just as delightful.
| Ingredient | Quantity |
|---|---|
| All-purpose flour | 2 cups |
| Granulated sugar | 1 1/2 cups |
| Unsalted butter, softened | 1/2 cup |
| Milk | 1 cup |
| Baking powder | 3 1/2 teaspoons |
| Vanilla extract | 1 teaspoon |
| Salt | 1/2 teaspoon |
| Strawberry jam | 1 cup |
| Heavy whipping cream | 2 cups |
| Fresh strawberries | for topping |
The use of all-purpose flour gives the cake structure, while granulated sugar adds sweetness and moisture when combined with butter. The rich flavor of heavy cream provides a luxurious foundation for the whipped topping, making it perfect for pairing with the vibrant strawberry jam and fresh strawberries.
Equipment Needed
- Two 9-inch round cake pans
- Mixing bowls
- Electric mixer
- Rubber spatula
- Wire racks
How Do You Make Jellycat Birthday Cake?
Making the Jellycat Birthday Cake is a simple yet rewarding process that results in a delicious and fun dessert.
Step 1: Preheat the oven to 350°F (175°C) and prepare two 9-inch round cake pans by greasing and flouring them.
Step 2: In a large mixing bowl, cream together the softened butter and granulated sugar until light and fluffy.
Step 3: Beat in the milk and vanilla extract until well combined.
Step 4: In a separate bowl, whisk together the flour, baking powder, and salt.
Step 5: Gradually add the dry ingredients to the wet mixture, mixing until just combined.
Step 6: Divide the batter evenly between the prepared pans and smooth the tops with a spatula.
Step 7: Bake for 25-30 minutes or until a toothpick inserted into the center comes out clean.
Step 8: After baking, let the cakes cool in the pans for 10 minutes, then transfer to wire racks to cool completely.
Step 9: Once the cakes are cool, spread a layer of strawberry jam over the top of one layer.
Step 10: Whip the heavy cream until soft peaks form, then spread it over the jam layer.
Step 11: Place the second cake layer on top, repeating the jam and whipped cream process.
Step 12: Finally, decorate the top with fresh strawberries for a beautiful finish before slicing and serving.
| Item | Value |
|---|---|
| Prep time | 20 minutes |
| Cook time | 30 minutes |
| Store time | 3 days |
| Calories | 350 per slice |
| Protein | 3g |
| Carbohydrates | 50g |
| Fat | 15g |
Common Mistakes to Avoid + Pro Tips for Success
Making the Jellycat Birthday Cake can be straightforward, but there are a few common pitfalls to watch out for. These tips can help ensure your cake turns out perfectly every time.
Mistakes to Avoid
| Error | Explanation |
|---|---|
| Overmixing the batter | This can lead to a dense cake. Mix just until ingredients are combined for a light, fluffy texture. |
| Not properly measuring ingredients | Using too much flour or sugar can alter the cake’s texture and taste. Always use a kitchen scale or accurate measuring cups. |
| Baking at the wrong temperature | Baking at too high or low a temperature can affect the rise and texture of your cake. Always preheat your oven properly. |
Tips for Success
| Tip | Explanation |
|---|---|
| Let eggs reach room temperature | This allows for better emulsion and a lighter cake texture. Just set them out for about 30 minutes before starting. |
| Use fresh strawberries | Opt for ripe strawberries to enhance the natural sweetness and flavor of the cake. They also make a prettier presentation. |
| Double the jam filling | Adding more jam will enhance the fruity flavor and keep the cake moist. Just be sure it doesn’t spill over the sides. |
The most important takeaway for making the Jellycat Birthday Cake is to keep your mixing gentle and love your ingredients, ensuring a delightful end result.
Why You Will Love This Recipe
The Jellycat Birthday Cake is one of my all-time favorites in the cake department.
A Fun Project for All Ages
This cake is fantastic for involving kids in the kitchen. They love spreading jam and decorating it with strawberries, turning a simple birthday celebration into a memorable activity.
Beautiful and Delicious
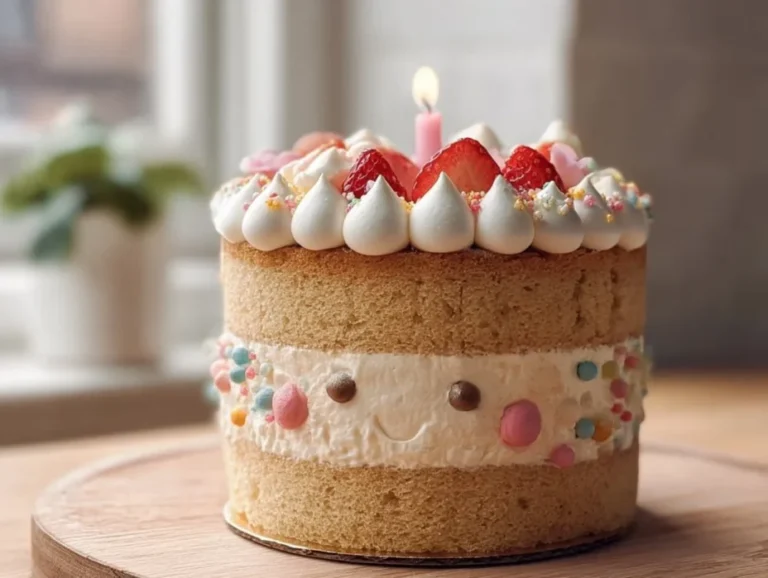
The layers of fluffy cake, fruity jam, and whipped cream create a visually stunning dessert that tastes just as good. Each slice is an explosion of flavors.
Perfect for Any Celebration
This cake is versatile enough to suit various occasions, from birthdays to family gatherings. Its charming appearance and delightful taste will impress any crowd.
Easy to Customize
I love making the Jellycat Birthday Cake because you can switch up the fillings and toppings easily. For example, try peach jam or blueberries for a delicious twist. You can also use ingredients you have on hand to suit personal tastes.
Variations, Serving, and Storage
There are several ways to enjoy and store the Jellycat Birthday Cake that can suit different occasions and preferences.
Fun Variations for This Cake
You can adjust the flavor by using different fruit jams or incorporating lemon zest into the cake batter for a citrus twist. For a chocolate version, replace some flour with cocoa powder, and use chocolate whipped cream too. Experimenting keeps the recipe fresh and exciting!
Great Ways to Serve
This cake pairs beautifully with a scoop of vanilla ice cream or with a drizzle of chocolate sauce. It also makes a lovely centerpiece for dessert tables at celebrations and can be cut into fun shapes for kids.
Storage and Make-Ahead Tips
The Jellycat Birthday Cake can be stored in an airtight container in the fridge for up to three days. If you plan to make it ahead of time, bake the layers and freeze them individually, then assemble the cake the day before serving for a fresher taste.
| Idea | Best for | How to do it |
|---|---|---|
| Fruit filling variations | Flavor customization | Use peach or raspberry jam in place of strawberry. |
| Serving with ice cream | Creamy pairing | Top each slice with a scoop of vanilla or chocolate ice cream. |
| Freezing leftovers | Longer shelf life | Wrap pieces tightly in plastic wrap and store in the freezer. |
More Recipes You Can Try Next
If you enjoyed the Jellycat Birthday Cake, you might want to try some of these delicious recipes next.
| Recipe Link | Why Try It Next |
|---|---|
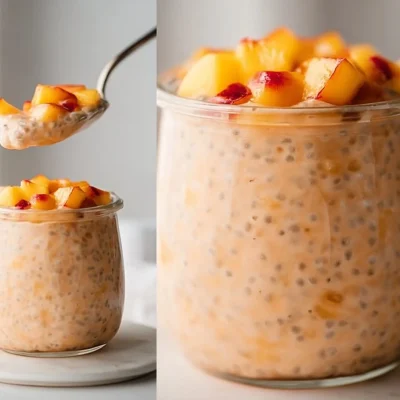
| Strawberry Shortcake Protein Smoothie | This smoothie is a great way to enjoy strawberry flavors in a refreshing drink. |
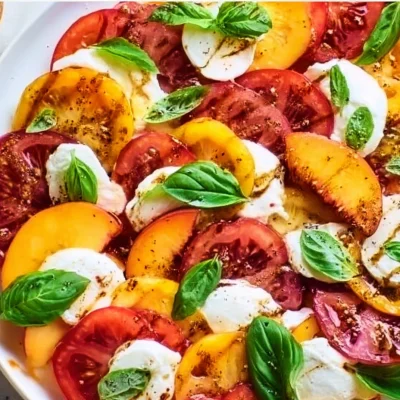
| Strawberry Oatmeal Crumble Bars | These bars are delicious for a quick snack, maintaining the strawberry theme. |
| Strawberry Crunch Cheesecake Tacos | These are a fun twist on cheesecakes, bursting with strawberry goodness. |
Final Thoughts
Making the Jellycat Birthday Cake has become a cherished tradition for me, bringing sweetness to celebrations. This cake not only looks stunning but also tastes amazing with its soft layers and rich flavors.
If you’re looking for a cake that will impress everyone at your next event, give this recipe a try or save it for later! Don’t forget to check out Pinterest for more fun ideas and inspirations!
FAQ
What makes the Jellycat Birthday Cake special?
The Jellycat Birthday Cake stands out for its fun flavor combinations and the vibrant presentation of creamy layers, fruity jam, and fresh strawberries. It’s both a delicious dessert and a visual treat, perfect for celebrations.
Can I make Jellycat Birthday Cake ahead of time?
Absolutely! You can bake the cake layers in advance and freeze them. Assemble the cake with jam and whipped cream the day before serving to keep everything fresh and delightful.
What is the best way to store leftover cake?
Store any leftover Jellycat Birthday Cake in an airtight container in the fridge for up to three days. Wrapping individual slices in plastic can extend their freshness.
Can I use different fruit jams in this recipe?
Yes, you can easily swap out strawberry jam for any favorite fruit jam like raspberry, peach, or even mixed berries for a different twist. Each jam will bring its unique flavor profile.
Jellycat Birthday Cake
A delightful, whimsical dessert featuring layers of fluffy vanilla cake filled with strawberry jam and topped with whipped cream and fresh strawberries. Perfect for kids’ parties and special occasions.
- Total Time: 50 minutes
- Yield: 8 servings 1x
Ingredients
- 2 cups All-purpose flour
- 1 1/2 cups Granulated sugar
- 1/2 cup Unsalted butter, softened
- 1 cup Milk
- 3 1/2 teaspoons Baking powder
- 1 teaspoon Vanilla extract
- 1/2 teaspoon Salt
- 1 cup Strawberry jam
- 2 cups Heavy whipping cream
- Fresh strawberries for topping
Instructions
- Preheat the oven to 350°F (175°C) and prepare two 9-inch round cake pans by greasing and flouring them.
- Cream together the softened butter and granulated sugar until light and fluffy.
- Beat in the milk and vanilla extract until well combined.
- Whisk together the flour, baking powder, and salt in a separate bowl.
- Add the dry ingredients to the wet mixture, mixing until just combined.
- Divide the batter evenly between the prepared pans and smooth the tops with a spatula.
- Bake for 25-30 minutes or until a toothpick inserted into the center comes out clean.
- Let the cakes cool in the pans for 10 minutes, then transfer to wire racks to cool completely.
- Spread a layer of strawberry jam over the top of one layer.
- Whip the heavy cream until soft peaks form, then spread it over the jam layer.
- Place the second cake layer on top, repeating the jam and whipped cream process.
- Decorate the top with fresh strawberries before slicing and serving.
Notes
Ensure your butter is softened for better mixing. For a dairy-free version, substitute heavy cream with almond milk for whipping.
- Prep Time: 20 minutes
- Cook Time: 30 minutes
- Category: Dessert
- Method: Baking
- Cuisine: American
- Diet: Vegetarian
Nutrition
- Serving Size: 1 slice
- Calories: 350
- Sugar: 20g
- Sodium: 200mg
- Fat: 15g
- Saturated Fat: 9g
- Unsaturated Fat: 6g
- Trans Fat: 0g
- Carbohydrates: 50g
- Fiber: 1g
- Protein: 3g
- Cholesterol: 30mg


No comment yet, add your voice below!